Torqueing the strut bearing hat top nut onto the strut is one of those things you don't really think about until you have to do it. Essentially, the issue here is that the strut shaft will spin if you try to just tighten the 22mm-7/8in strut nut alone. This means you have to use some way to counter hold the strut shaft. The factory Sachs struts have a hex head keyway, on Koni's that space is occupied by the adjusting tab and instead you have a 11mm nut. Of course all of these counter holding spots are blocked if you use a traditional socket and ratchet.
A lot of people suggest using a impact wrench here to spin it fast enough and that often works (and is a great method for removal). However, there is very little chance of getting the nut close to 55 ft/lb and instead it will likely be way over tightened. On the flip side, others suggest a strap wrench but it is unlikely it can counter hold the necessary torque on the slippery strut shaft.
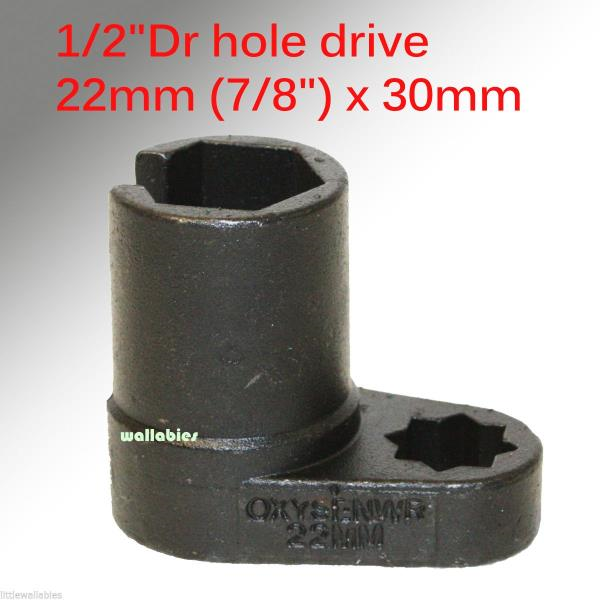
The solution I devised was to use a offset deep oxygen sensor socket. Make sure you get a deep well that is at least 25mm long as it needs to go down decently far if you are using the factory style strut bearing hats. These are available from eBay and other places for ~$10 or less. With this socket I could use a torque wrench while at the same time having a 11mm deep socket on the Koni strut nut.
Hopefully this helps some people out who have encountered this issue.